Installation
Step 1: Add the Resource
- Download sd-crafting from your purchase and extract it into your server's
resourcesfolder. - Add the following to your
server.cfg:
ensure sd-craftingTIP
The database tables and framework detection are fully automatic. On first start the script will create all required tables via oxmysql and detect whether you are running qb-core or es_extended.
Step 2: Add Workbench Items to Your Inventory
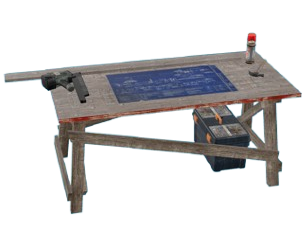
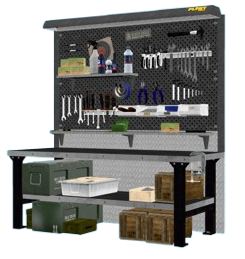
Placeable workbenches are inventory items that players use to deploy a crafting station. The default items defined in configs/config.lua under PlaceableWorkbenches are workbench and advanced_workbench.
-- Add to ox_inventory/data/items.lua

['workbench'] = {
    label = 'Workbench',
    weight = 10000,
    stack = false,
    close = true,
    description = 'A portable basic workbench for crafting.',
    client = {
        image = 'workbench.png',
    },
},

['advanced_workbench'] = {
    label = 'Advanced Workbench',
    weight = 15000,
    stack = false,
    close = true,
    description = 'A portable advanced workbench for complex crafting.',
    client = {
        image = 'advanced_workbench.png',
    },
},-- Add to qb-core/shared/items.lua
['workbench'] = {
name = 'workbench',
label = 'Workbench',
weight = 10000,
type = 'item',
image = 'workbench.png',
unique = true,
useable = true,
shouldClose = true,
description = 'A portable basic workbench for crafting.',
},
['advanced_workbench'] = {
name = 'advanced_workbench',
label = 'Advanced Workbench',
weight = 15000,
type = 'item',
image = 'advanced_workbench.png',
unique = true,
useable = true,
shouldClose = true,
description = 'A portable advanced workbench for complex crafting.',
},-- Run in your database or import from [SQL] folder
INSERT INTO `items` (`name`, `label`, `weight`, `rare`, `can_remove`)
VALUES
('workbench', 'Workbench', 10, 0, 1),
('advanced_workbench', 'Advanced Workbench', 15, 0, 1);WARNING
ESX stores weight in different units depending on your setup. Adjust the weight values to match your server's weight system.
Step 3: Copy Workbench Images
Copy the workbench images from sd-crafting/images/ to your inventory's image folder. You can also download them directly below.
| Inventory | Image Path |
|---|---|
| ox_inventory | ox_inventory/web/images/ |
| qb-inventory / ps-inventory | <inventory>/html/images/ |
| qs-inventory | qs-inventory/html/images/ |
| codem-inventory | codem-inventory/html/itemimages/ |
| origen_inventory | origen_inventory/ui/images/ |
TIP
If you are using a custom inventory, place the images wherever your inventory loads item icons from.
Step 4: Configure Placement Method
By default, workbench placement uses raycast placement (point-and-place). For gizmo-based placement with full rotation control, install object_gizmo and set useGizmo = true in configs/config.lua.
useGizmo = false,          -- true = object_gizmo, false = raycast placement
raycastDistance = 10.0,     -- Max distance for raycast placement
raycastFlags = -1,          -- Raycast collision flags (-1 = everything)
Step 5: Restart
Restart your server or start the resource. On first boot you will see log output confirming:
- Framework detected (QB / ESX)
- Inventory system detected
- Target system detected
- Database tables created
- Locale loaded
If anything is missing, check your server console for error messages. Enable Debug = true in configs/config.lua for verbose logging.
Admin Commands
The script registers two commands (customizable in configs/config.lua):
| Command | Default | Description |
|---|---|---|
| Place Workbench | /placeworkbench | Place a workbench prop and print config coordinates to the F8 console |
| Craft Admin | /craftadmin | Open the in-game admin panel for managing players, queues, stations, recipes, and tech trees |